Project 1--A simple yet classy gift card holder that works for men or women.


I found instructions for this cute idea HERE.
How to make it:
1. Take a 5" square piece of Real Red cardstock and use the envelope punch board to make the smallest envelope (gift card size). No need to tape the envelope together, just fold it up and use a belly band to keep it closed.
2. Use a Basic Black strip of cardstock to make a belly band, 3/4" by 8", fasten with tear tape. Cut a 3/4 " black square to put on top of the buckle.
3. Punch the belt buckle out of silver glimmer paper using the label bracket punch.
4. Attach the 3/4 inch black square to the top of glimmer buckle using strong adhesive like tear tape.
5. Attach the buckle to the band with dimensionals. The band can slide off and on so you can open the holder and put your gift card inside.
6. Add a rhinestone to the middle of the belt if desired.
As you can see, you can have your holder face the wide direction, or flip it to be the tall direction and put buttons and buckle on the back side. Add some ribbon to the top so you can hang your gift card holder on the Christmas tree. Super cute and fast to make!

Project 2--Winter scene window card

I made this lovely card at a class planned by my friend, Michelle Suit, and knew I wanted to share it with my group.
Stamps: Lovely as a Tree, Oh What Fun
Ink: Lost Lagoon, Soft Sky, Early Espresso
Cardstock: Whisper White, Tip Top Taupe, Lost Lagoon
Other: 1 1/4 inch punch (punch out a post-it note and lay it down while sponging around it to create the moon), 2 1/2 inch punch (for window), Decorative Dots embossing folder, 2-way glue pen, Dazzling Diamonds glitter, sponges
Project 3: Wondrous Wreath Card (I'm doing a whole class around this stamp set, so check back next week for more samples)

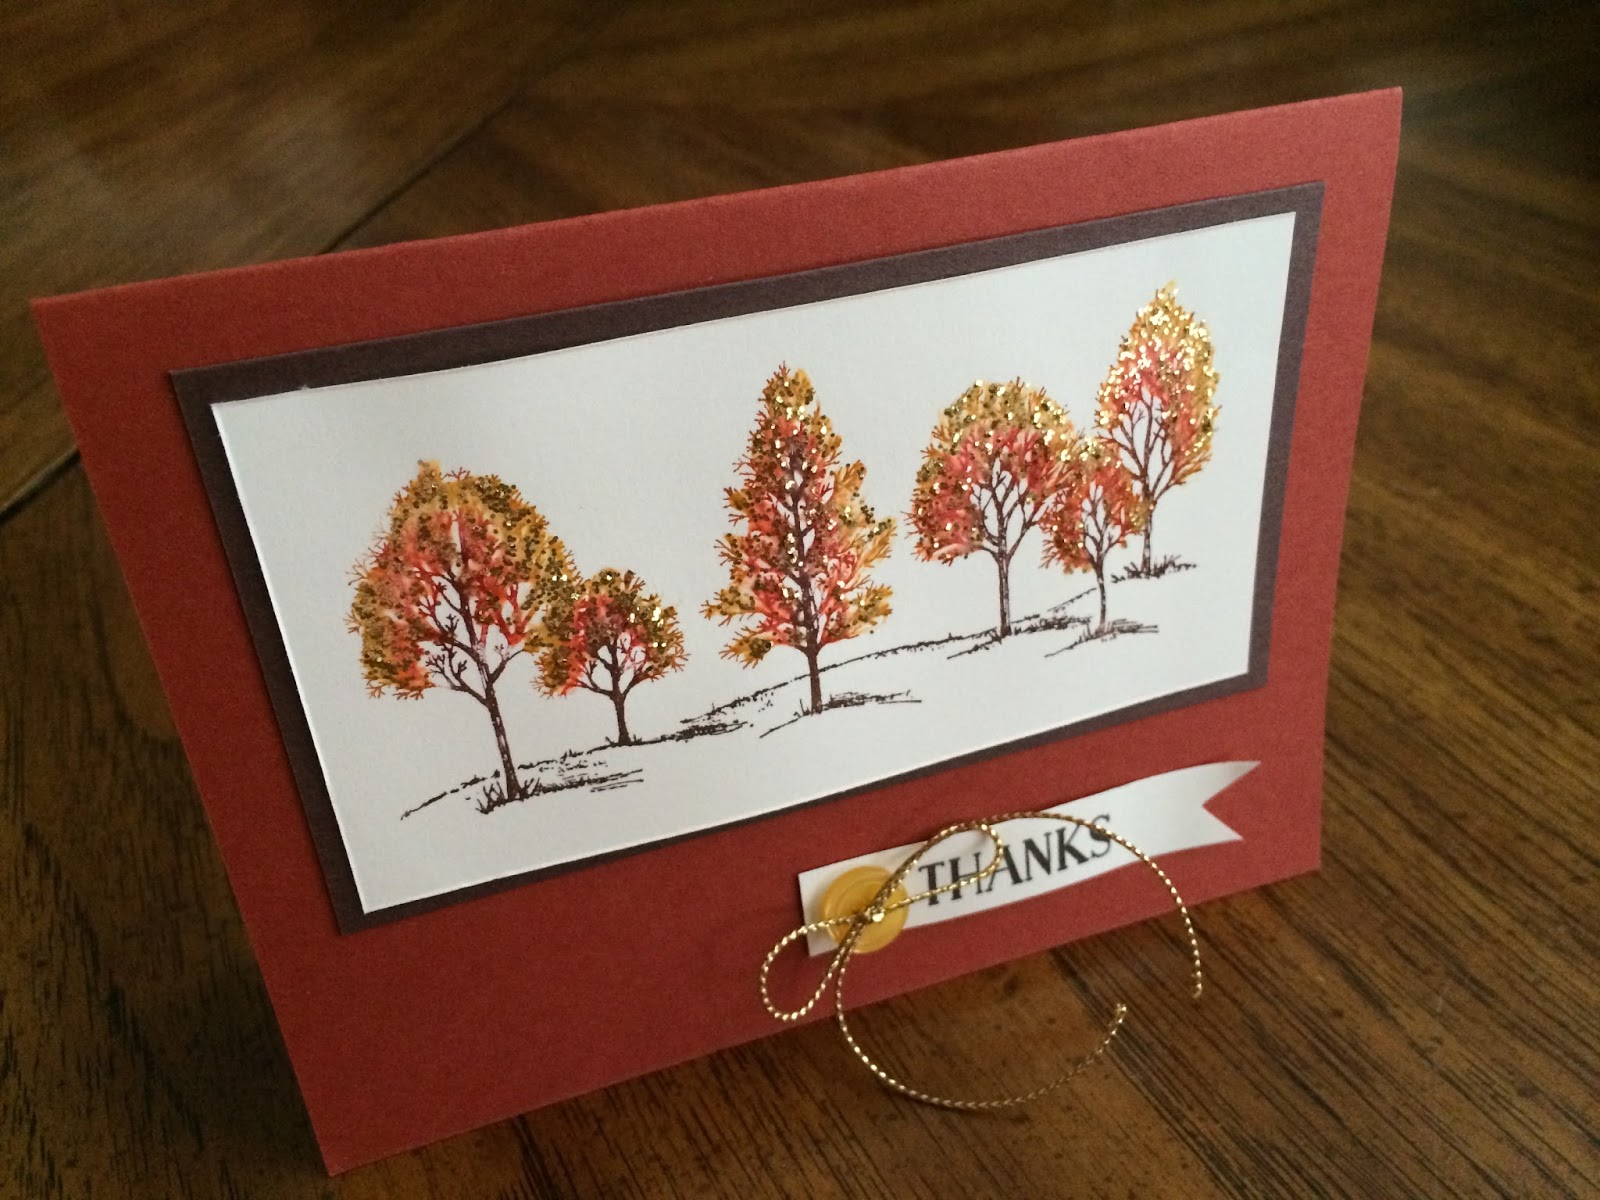
Project 4: Another blue Christmas card. I love blue!

Project 5: Another cute Santa project holding yummy chocolates. This project was planned by my friend, Lorinda McDaniel. We do this class together, with each of us planning some of the projects. This gives our attendees variety with our different styles.


Bonus Projects! It's Christmas so we couldn't stick to only 5 projects! We had to add a couple extra surprises!
Ghirardelli Chocolate Treat Packets:

A fun Christmas Tag, also planned by Lorinda:

We hold our Make & Take Class the first Saturday of the month in Gainesville, VA. I hope you can join us for our next one! It's not to late to sign up for my Wondrous Wreath class next Saturday, December 12th, at 9:30 a.m. See pictures HERE and e-mail me if you want to come: stampwithmarsha@gmail.com.