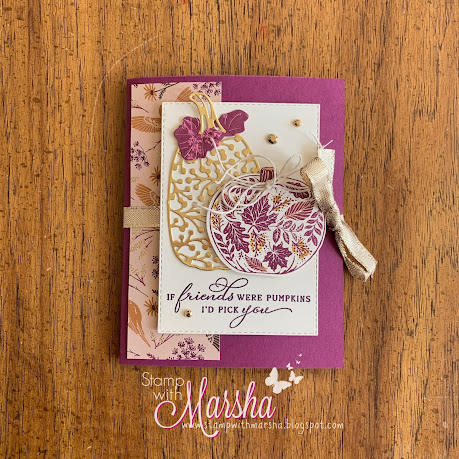
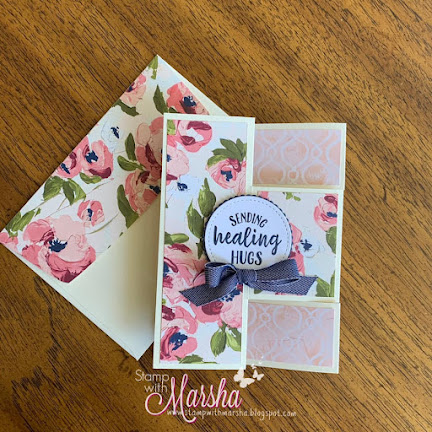
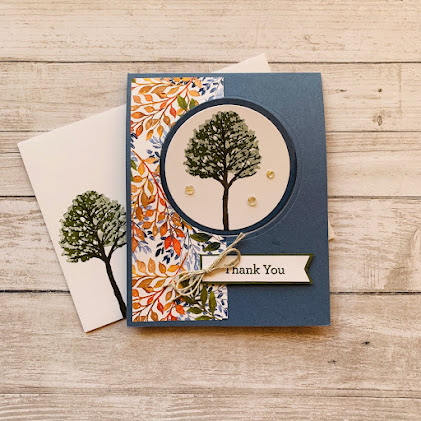
I showed how to create this fun-fold card yesterday on my weekly Facebook live. I'm calling it a multi-panel surprise card. The "surprise" part is that it looks like a regular card on the front, but when you open it, you see all of these snazzy colorful panels. This card is perfect for using up small scraps of Designer Series Paper (DSP).
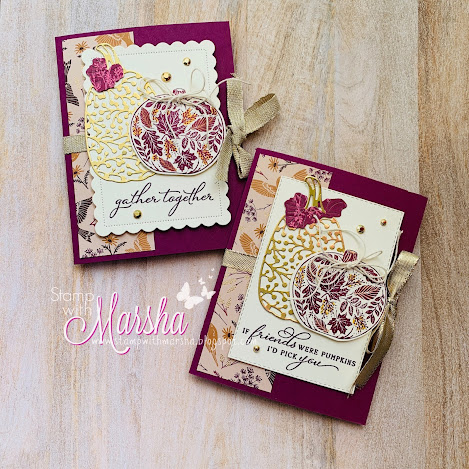
I learned how to make the inside part of this card from a paper party with Wendy Cranford. With Thanksgiving just around the corner, I needed more fall cards, so I decided to use the gorgeous Blackberry Beauty Designer Series Paper and the Pretty Pumpkins bundle. I made two slightly different versions for the front. One use the Stitched Rectangle dies, the other uses the Scallop Contour dies.
Watch the video showing how to make the card HERE.
These are the measurements:
- Blackberry Bliss card base: 5-1/2 x 8-1/2, score at 4-1/4
- Vanilla card base (for inside): 5-1/4 x 8-1/2
- Very Vanilla cardstock: die cut a piece for the front with either Stitched Rectangle dies or Scalloped Contours dies.
- Very Vanilla rectangles for inside: 1-1/2 x 1-7/8 (cut 4)
- Blackberry Bliss cardstock pieces for inside: 1-5/8 x 2 (cut 4)
- DSP for four corners: 1-5/8 x 2 (cut 4)
- DSP for middle panels: 1-1/4 x 2 (cut 2)
- DSP for small panels: 1-1/4 x 7/8 (cut 2 of each pattern)
How to score and cut the inside card base:
- With 5-1/4 side at the top, score at 1-7/8 and 3-3/8
- Turn and score at 2-1/8, 4-1/4, and 6-3/8
- Go in 1" from each side and score down between 1-7/8" line and 3-3/8" line
- Turn and cut along the vertical score lines you made earlier between the 1" mark and the 7-1/2 mark
I recommend watching the video for best results with the scoring/cutting/bending of the inside piece. I found this Blackberry soap at Bath & Body that matches so nicely. It would make a lovely gift set if I hadn't already used up most of the soap! Ha, ha!
Here is another version of the card. The front of the card was cased from Jaime Babarczy. This card uses the Sweet Stockings DSP, Frosted Gingerbread stamp set for the bell on the front, and Tidings & Trimmings stamp set for the stamped images on the inside. The measurements are the same as above except there are no extra cardstock pieces on the inside. The white panels are cut at 1-5/8 x 2.
 |
| Card front design cased from Jaime Babarczy |
I also made a sparkly snowflake version that uses some retired products. The front is cased from Cindy Elam. The Snowflake Wishes stamp set is still current, but the DSP, blue glimmer paper, and Tin of Tags greeting set are retired.
 |
| Card front design cased from Cindy Elam |
The multi-panel card reminds me of the tri-fold shutter card I made on Facebook back in May. I thought I posted about it here, but I can't find the post so I guess I didn't! Here are some pictures.
You can see the video for the tri-fold shutter card HERE.
The photo below shows some measurements. The panel piece measurements are for the DSP.
I hope you'll give these fun fold cards a try. Warning--they can be addictive! You will see a list of supplies below for the blackberry /pumpkin version. If you need anything, please use the following host code at my online store this month: U4QYGNR4. If your order is over $50, you will receive a free gift from me. If your order is $150 or more, don't use the host code. You will get your own host rewards, plus the free gift from me!
Happy Stamping!
Marsha


