Showing posts sorted by date for query tea. Sort by relevance Show all posts

Thursday, February 9, 2023

Get Well Soon Gift Pouch


Today I want to share this adorable get well soon gift pouch.  I first saw this idea from Dawn Griffith
HERE back in 2016.  I recreated it using new product and slightly changed the measurements.  This was a make & take project at my recent craft retreat and it was a huge hit!  From the front compartments, you can pull out a package of tissues and a package of Halls drops.


On the back of the package, you can attach a pack of chicken noodle soup.


It's nice to have a little gift ready that I can take to friends who are under the weather.

You can watch THIS VIDEO to see me make this project step by step.

The measurements are below (all in inches).

Backdrop & Tissue Compartment:

  • Daffodil Delight : 4-1/4" x 10-1/4", with 10-1/4 side at the top, score at ½", 1-3/8", 3-3/4", and 4-5/8"
  • Lemon DSP (from Tea Boutique pack): 4" x 3"
  • Striped DSP on the back (from Day at the Farm pack): 4 x 5-3/8


Front piece to hold cough drops: 

  • Daffodil Delight: 3 x 4-1/2, with 4-1/2 side at the top, score at 1/2 and 1-5/16 (1-1/4 plus 1/16th)
  • Striped DSP: 2-3/4 x 2-15/16 (3 minus 1/16th)


Strip on the back to hold the soup:

  • 1-1/4 x 4-9/16 (4-1/2 plus 1/16th)
  • With 4-1/2 side at the top, score in ½” from each side
  • DSP (Lemon pattern): 1 x 3-5/16 (3-1/4 plus 1/16th)

You will find a list of supplies used at the end of this post.  Thanks for stopping by today!  I hope you give this project a try!

Happy stamping,

Marsha


Product List

Saturday, April 10, 2021

Spring Candy Matchbooks


I think this is my third post for making candy matchbooks, so I must really like to make them!  I used the Springtime Joy stamp set to made these sweet matchbooks for my piano students and to sell at a vendor event.  You can get either 3 or 4 pouches out of a  8-1/2 x 11 sheet of cardstock, depending on how wide you make your pouch.  You can watch THIS VIDEO to see the way I score and cut to save time and use the cardstock most efficiently.

Although the basic design is quick and easy to put together, it can take some time to mass produce if you do a lot of coloring and layering--ask me how I know!  You can see a simpler design HERE.  

If you want to perfectly get four matchbooks out of a piece of cardstock with no leftovers, the mini M & M packs work best.  They were also the most popular at my vendor event.


Here are the measurements:

--Highland Heather base: 2-3/4" x 8-1/2", score at 3/4, 4-5/8, and 5
--Hydrangea Hill Designer Series paper: 2-1/2 x 3-1/4
--Pear Pizazz cardstock for greeting: 3/4 x 2-1/2
--White: 2-1/4" circle punch
--I colored the image with the following Stampin' blends: Purple --Posy, Highland Heather, Granny Apple Green, Seaside Spray (I used the light color to put a "shadow" around the bunny.)
--Tuck the candy into the bottom flap and staple it, then cover the staple with ribbon using a glue dot.  You can see this in the video linked above.

Although the M&M pouches were the most popular, I personally 
love the Skittle pouches best because of the sweet little lamb image on the front.


I thought the Skittle packets were shorter and wider, but it turns out they are only shorter.  That means you could use the same width measurements as the M&M packets to get four out of a sheet of cardstock, but if you want to use the adorable lamb image like I did, the wider size fits the image better.  You can adjust the width of your pouch according to what you want to put on the front.

These are the measurements I used:

--Matchbook base (I used a variety of colors--Balmy Blue, Highland Heather, Daffodil Delight, and retired Grapefruit Grove): 3-1/4 x 7-1/2, score at 3/4, 4-1/8, and 4-1/2
--Gingham Gala DSP (retired Sale-a-bration item): 2-3/4 x 3
--White: 2-1/2" circle punch
--Greeting piece: 1/2" x 1-3/4"
--Stampin' Blends colors: Light Granny Apple Green, Light Daffodil Delight, Light Calypso Coral, Light Pool Party (for the shadow around the lamb)

These matchbooks are an inexpensive party favor or table gift.  I hope you will enjoy making them as much as I do!

If you would like to order this month, please use the following host code: GKRWNCXV.  When you order $50 or more and use the host code, you get a free gift from me!

Happy stamping,
Marsha

P.S. You can find measurements for a tea packet version of this matchbook HERE.

Wednesday, July 22, 2020

Skittles Match Books


I think I have been making variations of these matchbooks for twenty years!  I just adjust the measurements a little to suit whatever candy or item I'm putting inside.  You can see a version with a tea packet HERE.  You can give these as a party favor or make it a more substantial gift by tucking money inside.
You can see me making this favor along with some others on a Facebook video HERE.

These are the measurements:
  • Base: 3-1/4" x 7-1/2", With 7-1/2" side at the top, score at 3/4", 4-1/8", 4-1/2"
  • DSP: 2-3/4" x 3"
  • Greeting: 1" x 3-1/4", punch the ends with the Lovely Labels Punch
Fold the bottom flap up, tuck your treat inside, and staple.  Then tuck the top flap inside.  Attach a bow with a glue dot to the front to cover the staple.  I used the Flowers for Every Season DSP to make a whole bunch of these!


Thank you for stopping by!  Please use the following host code on online orders this month: Y6DZBVGA.  If your order is over $50, you will get a free acrylic block from me, your choice of C, D, or H.  If your order is over $150, do not use the code as you will get your own host rewards, plus the free block.  Email your choice to me after you place your order.

Happy Stamping!


Product List

Scooby Snack Party Favors


Looking for a little snack to give out a pet-themed party?  These snacks are for humans rather than dogs, but of course, you could use dog treats instead.  I bought a large box of Scooby Snacks and put them in these smaller ziploc bags.
The little dogs are fussy cut from the Playful Pets Designer Paper.  You can see me making this project along with some other party favors HERE

Measurements:
  • Tag base: 2" x 10", score at 5" (I used Cinnamon Cider and Gray Granite)
  • DSP: 1-3/4" x 4" (The red polka-dot DSP came from a retired stack)
  • 2" white circle and 2 1/4" black circle (use punches or Layering Circle Dies)
  • White greeting piece: 1" x 2-1/4"
Here is the stack I made for a Pampered Pets class!


You can see a similar project with a tea bag inside instead of Scooby Snacks HERE.

Thank you for stopping by!  Please use the following host code on online orders this month: Y6DZBVGA.  If your order is over $50, you will get a free acrylic block from me, your choice of C, D, or H.  If your order is over $150, do not use the code as you will get your own host rewards, plus the free block.  Email your choice to me after you place your order.

Happy Stamping!

Product List
8-1/2" X 11" Glossy White Cardstock
[144240]
$7.75

Monday, April 8, 2019

Spring 9 x 9 Shadow Box


I have been having so much fun with my monthly shadow box classes!  Several of my class attendees told me this spring sampler was their favorite.  I love it too!  As usual, I took inspiration from Audra Monk.  Be sure to check out all of her wonderful creations!  Read on for a list of measurements and supplies.

Spring Rectangle
Top white layer: 2" x 7 1/8"
Flirty Flamingo layer: 2 1/4" x 7 3/8"
Bottom white layer: 2 3/8" x 4 7/8"


I used the Large Letter Framelits to die cut the letters out of Flirty Flamingo cardstock.  Before die-cutting, I stamped the rose from Tea Together all over the cardstock with versamark ink and heat  embossed with white embossing powder.  The white rectangle piece under the letters was embossed with the Layered Leaves embossing folder and the Big Shot.  The leaf stems are from the retired Bird Builder Punch and the flowers are from the retired Itty Bitty punches.  I used foam adhesive strips to raise the letters.

Butterfly Squares
Floral Romance DSP layer: 2" x 2"
Flirty Flamingo layer: 2 1/4" x 2 1/4"
White layer: 2 3/8" x 2 3/8"


The butterflies came from the Sale-A-Bration Botanical Butterfly designer paper.  I punched them out with the Butterfly duet punch, added a mini dimensional in the center of the body, and curved up the wings a bit.

Cherry Blossom Rectangle:
Top white layer: 2" x 4 1/2"
Flirty Flamingo layer: 2 1/4" x 4 3/4"
Bottom white layer: 2 3/8" x 4 7/8"


The background was once again embossed with the Layered Leaves folder.  I used the Colorful Seasons stamp set and Seasonal Layers dies for this piece.  The flowers were stamped with Flirty Flamingo ink full strength once, then stamped off to get the lighter shade.

Bunny Square:
Botanical Butterfly DSP layer: 2" x 2"
Flirty Flamingo layer: 2 1/4" x 2 1/4"
White layer: 2 3/8" x 2 3/8"


I used the Stitched Shapes dies to die cut the circle.  The bunny is from Fable Friends.  (Check out my Fable Friends Class-to-go HERE).  I stamped the bunny and colored him with Stampin' blends.  The circle is raised with a dimensional on the square.

Bird Square
Top white layer: 2" x 2"
Flirty Flamingo layer: 2 1/4" x 2 1/4"
White layer: 2 3/8" x 2 3/8"


I used the retired Bird Builder Punch for the bird.  The leaves are from Petals and More Thinlits set.  The background is once again embossed with the Layered Leaves folder.  Here are a couple more photos showing the process of making this square:


Large Balmy Blue background: 8 1/2" x 8 1/2"
White Layer so it will fit in the frame: 9" x 9"

Here is is the finished product before adding it to the frame:

Thank you for stopping by!  I hope you give these shadow boxes a try.  I have sure loved making them!  

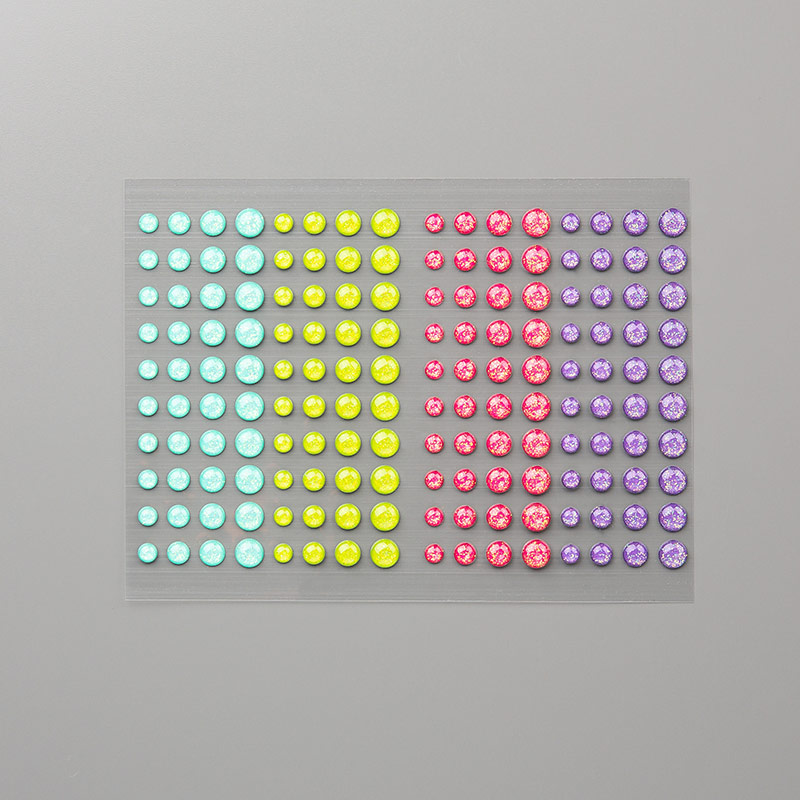
Please use the following hostess code when placing orders this month: DAJDWYRS. If your order is over $50, you will receive these Glitter Enamel Dots for free.

Happy Stamping!

~Marsha