Showing posts with label Framed Art. Show all posts

Monday, April 8, 2019

Spring 9 x 9 Shadow Box


I have been having so much fun with my monthly shadow box classes!  Several of my class attendees told me this spring sampler was their favorite.  I love it too!  As usual, I took inspiration from Audra Monk.  Be sure to check out all of her wonderful creations!  Read on for a list of measurements and supplies.

Spring Rectangle
Top white layer: 2" x 7 1/8"
Flirty Flamingo layer: 2 1/4" x 7 3/8"
Bottom white layer: 2 3/8" x 4 7/8"


I used the Large Letter Framelits to die cut the letters out of Flirty Flamingo cardstock.  Before die-cutting, I stamped the rose from Tea Together all over the cardstock with versamark ink and heat  embossed with white embossing powder.  The white rectangle piece under the letters was embossed with the Layered Leaves embossing folder and the Big Shot.  The leaf stems are from the retired Bird Builder Punch and the flowers are from the retired Itty Bitty punches.  I used foam adhesive strips to raise the letters.

Butterfly Squares
Floral Romance DSP layer: 2" x 2"
Flirty Flamingo layer: 2 1/4" x 2 1/4"
White layer: 2 3/8" x 2 3/8"


The butterflies came from the Sale-A-Bration Botanical Butterfly designer paper.  I punched them out with the Butterfly duet punch, added a mini dimensional in the center of the body, and curved up the wings a bit.

Cherry Blossom Rectangle:
Top white layer: 2" x 4 1/2"
Flirty Flamingo layer: 2 1/4" x 4 3/4"
Bottom white layer: 2 3/8" x 4 7/8"


The background was once again embossed with the Layered Leaves folder.  I used the Colorful Seasons stamp set and Seasonal Layers dies for this piece.  The flowers were stamped with Flirty Flamingo ink full strength once, then stamped off to get the lighter shade.

Bunny Square:
Botanical Butterfly DSP layer: 2" x 2"
Flirty Flamingo layer: 2 1/4" x 2 1/4"
White layer: 2 3/8" x 2 3/8"


I used the Stitched Shapes dies to die cut the circle.  The bunny is from Fable Friends.  (Check out my Fable Friends Class-to-go HERE).  I stamped the bunny and colored him with Stampin' blends.  The circle is raised with a dimensional on the square.

Bird Square
Top white layer: 2" x 2"
Flirty Flamingo layer: 2 1/4" x 2 1/4"
White layer: 2 3/8" x 2 3/8"


I used the retired Bird Builder Punch for the bird.  The leaves are from Petals and More Thinlits set.  The background is once again embossed with the Layered Leaves folder.  Here are a couple more photos showing the process of making this square:


Large Balmy Blue background: 8 1/2" x 8 1/2"
White Layer so it will fit in the frame: 9" x 9"

Here is is the finished product before adding it to the frame:

Thank you for stopping by!  I hope you give these shadow boxes a try.  I have sure loved making them!  

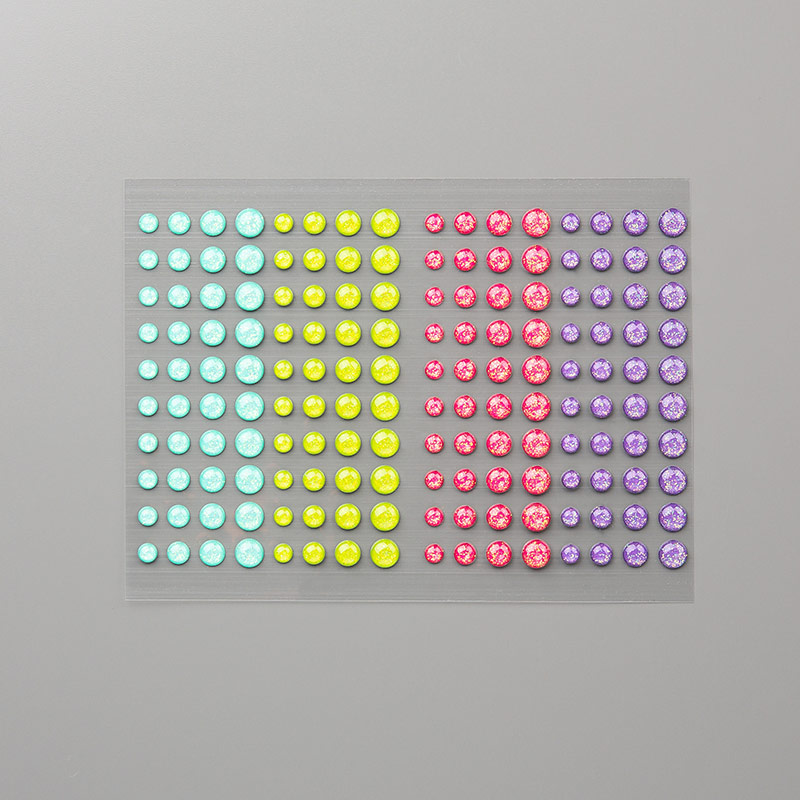
Please use the following hostess code when placing orders this month: DAJDWYRS. If your order is over $50, you will receive these Glitter Enamel Dots for free.

Happy Stamping!

~Marsha

Tuesday, February 12, 2019

Seasonal Framed Art

My latest obsession is making seasonal art samplers to frame in a 9 x 9 shadow box.  I have been very inspired by Audra Monk who posts detailed instructions and measurements on her blog each month, be sure to check it out! You will see her influence in my art below.


The Winter Shadow Box
This winter sampler is my favorite!  I love the silver embossing on the letters (thank you, Audra!), the shimmery glimmer paper, and the colors (Balmy Blue, Smoky Slate, Silver Foil, White, and Sparkle Glimmer Paper).  The Large Letters Framelits dies are a must when making samplers!  The gray card stock is Smoky Slate, but the stamping was done in Basic Gray ink.


The Valentine Shadow Box

This art sampler features the Be Mine bundle from the Occasions catalog and the All My Love DSP.  What a wonderful combination!  The colors are Crumb Cake, Flirty Flamingo, and Lovely Lipstick.  I used Audra's measurements HERE.


St. Patrick's Day Shadow Box

I made two versions for St. Patrick's day because I couldn't decide which elements I liked best.  I'll let my guests decide which one they want to make at the class. I used a lot of retired elements on this one, because I had them on hand and they worked so perfectly!  If you are wanting to re-create this, I hope you have them on hand too!  If not, come to my class on Feb. 23rd. 😉 The shamrock was made with the pansy punch--trim one flower petal into a stem.  The background color is Cucumber Crush.  The Rainbow Builder Framelit dies just happen to be on the Clearance Rack right now for only $18, which is perfect because I didn't get them the first time around!  I printed the Irish Blessing saying from my home computer.  The pot of gold is made with 1 3/4" circle punch, word window punch, scallop punch, and 1/4" circle punch for gold pieces.  The little Leprechaun is made with the Cookie Cutter Christmas Santa turned into a Leprechaun.  I found guidance for the leprechaun and the pot of gold punch art on Pinterest.

I'm following the lead of other demonstrators to host monthly framed art classes.  We've had two so far and it's been such fun!  I hold them the last Saturday of the month and I would love to have you join us! See the facebook event or my calendar for details, or e-mail me anytime--stampwithmarsha@gmail.com.  I'm happy to share additional close-up photos for these projects as well as measurements.


Thank you for stopping by!
Please use the following host code for online orders during the month of February:  


2USMKSZU

If your order is over $50 (before shipping and tax), you will a spool of Textured Weave ribbon free from me (your choice of color).  Of course, it's also Sale-A-Bration time so you will get to choose free product from that promotion as well! E-mail me your choice of color after you place your order and I will send it to you at the beginning of March. 

Happy Stamping!


~Marsha~