Showing posts with label Stampin' Blends. Show all posts

Tuesday, July 14, 2020

Sunflower Mini Post-it Note Pouch

I love post-it notes!  I use them all the time, both as a piano teacher and in my stamping world.  Sometimes I like the regular size, and sometimes this mini size is just perfect.  I recently used the last of my sticky notes from a mini-post it note holder that was given to me as a gift over 15 years ago!  I decided it was time to make more.  These pouches made a nice little gift for attendees at our recent Celebrate Sunflowers session of Super Saturday.  I did not use the Post-It brand.  You can see the brand I bought from Amazon HERE.


Measurements and Steps:
  1. Cut Bumblebee Cardstock at 2" x 5".
  2. With the 5" side at the top, score at 1-1/2", 2", 3-1/2", and 4".
  3. Stamp the small sunflower image from the Celebrate Sunflower stamp set on the piece of cardstock using Bumblebee ink.
  4. Round your top and bottom corners with a corner rounder.
  5. If you want to stamp something on the inside, do it before you add your post-it notes and magnet.
  6. Fold along the score lines and glue your post-its in the middle.
  7. Cut a magnetic strip to hold it closed and attach with strong tape such as tear tape or scor-pal tape.  (I cut up magnetic vent covers from Lowes for projects like this, as well as to store my dies).
  8. Stamp the Sunflower image on a separate piece of white cardstock using Memento Black ink.  Color with Stampin' Blends--Dark & Light Daffodil Delight, Dark & Light Just Jade, and Dark Soft Suede for the center.  Die-cut and attach to the post-it pouch with Stampin' Dimensionals.
Post-it pouches are great for any season.  I love to give them to teachers.  See the big version HERE.

Thank you for stopping by!  Please use the following host code online orders this month: Y6DZBVGA.  If your order is over $50, you will get a free acrylic block from me, your choice of C, D, or H.  If your order is over $150, do not use the code as you will get your own host rewards, plus the free block.  Email your choice to me after you place your order.


Product List

Thursday, June 11, 2020

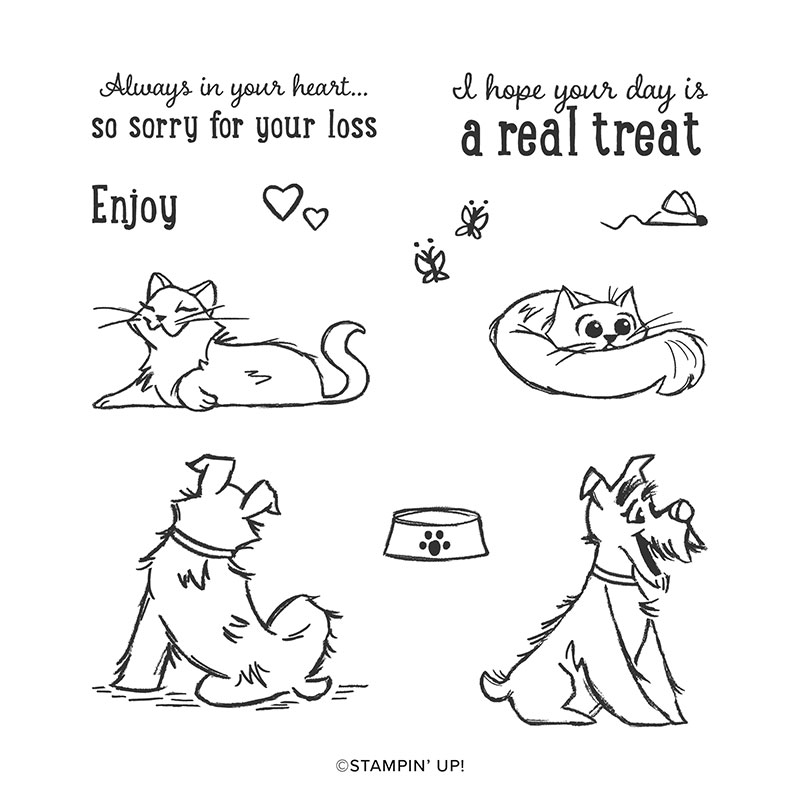
Pampered Pets

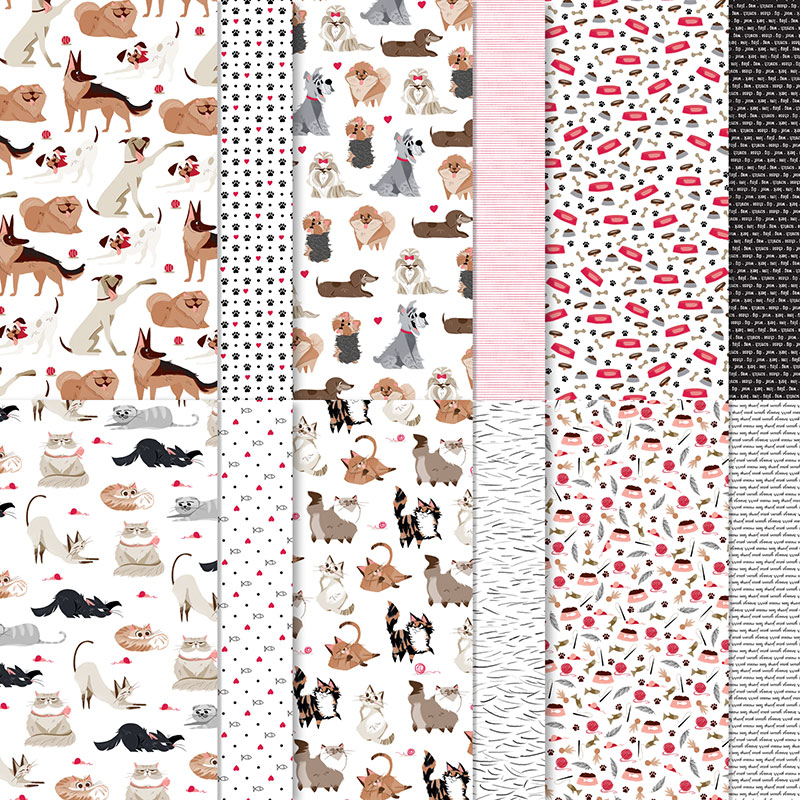
Have you seen the Playful Pet suite in the new catalog?  It's so adorable!  I don't even consider myself a pet person (although I have a dog), but I still couldn't wait to get it!  I think it was the colors in the DSP that drew me in!

The card I'm sharing today was cased from p. 40 of the 2020-2021 Annual Catalog.  It's a fairly simple card with just a little coloring.  You can see a video of me making it HERE.  These are the measurements and steps.

Measurements:
  • Basic Gray Cardstock: 8-1/2" x 5-1/2", score at 4 1/4"
  • Striped DSP: 4" x 3" (front); 2-3/16 x 5-3/4 (envelope flap)
  • Whisper White Cardstock: 3" x 3-3/4" (front); 4" x 5-1/4" (inside)

Steps:
  1. Stamp your greeting in Real Read ink on the small white cardstock piece.
  2. Stamp your pets in black ink and color with Stampin' Blends or other coloring tools.  See my Facebook LIVE HERE for other options.
  3. Wrap a small piece of twine across the top front of the white piece and tape it on back.  Tie another piece of twine into a bow and attach to the front with a glue dot.
  4. Attach the DSP to the card front.
  5. Stamp the small heart image in Basic Gray along the top and bottom edge of the card base.
  6. Attach your white stamped piece to the card with Stampin' Dimensionals.  Add the heart or bone charm with a glue dot.
  7. Inside--Stamp the dog bowl on the inside card piece and color with Stampin' Blends.  Stamp some hearts in Real Red ink.
  8. Attach the long strip of DSP to the envelope flap and trim off the extra.
This card is fairly quick and easy.  I've made several other projects with this darling set, but I'll save them for another post. 

Thank you for stopping by.  If you would like to get any items from this adorable suite, click on the links below to order.  Please us the June Host code on your online orders: EEBWAY92. If your order is over $50, you will receive a free Classic Stampin' pad from me.  Email your color choice to me after placing your order.  If your order is over $150, do not use the code as you will earn the host rewards for yourself plus get the free ink pad.

Happy Stamping!

Marsha


Product List

Wednesday, March 11, 2020

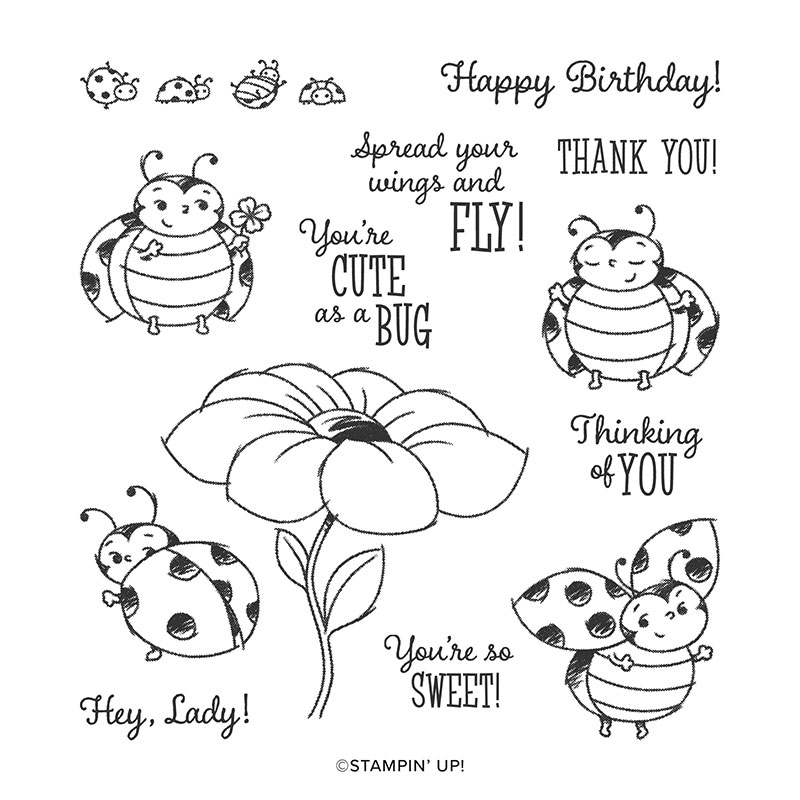
Ladybug Fun Fold Card


The Little Ladybug host set is SO adorable!  You can get it free during Sale-A-Bration when you place a $300 order or host a party totaling $300 or more in sales.  Not ready to spend that much?  Place an order of $50 order or more before the end of March and your name will be entered in a drawing to win the stamp set from me for free!  The winner will be announced April 1st.


I found the measurements for this fun fold card on Julie Davison's blog HERE.  She also has a video which is helpful to watch!  Some of the punches are retired, but you can make the same design using dies instead of punches.

Measurements:
  • Black Cardstock: 4-1/4" x 11", with 11" side at the top, score at 2-1/2" and 6-3/4."  After you score, trim 1/16" to 1/8"  off the bottom (the flap that folds up) so it will close nicely.
  • Flower DSP: 4" x 3-7/8"
  • White Cardstock: 4"x 4" for inside; 2" circle
  • Red Cardstock: Punch one scallop circle with the 2 3/8" scallop punch (retired); punch two small flowers with the Small Bloom Punch (SAB item)
Tips:
  • Watch Julie's video (link above) as it makes the remaining steps easy to understand! :)
  • I used the 2 1/2" circle punch on the black cardstock. Push it all the way in from the edge with the score line down the middle.  I did this first, then attached my white cardstock inside, and punched again to get rid of the white half-circle.  You could attach and then punch, but this makes it easier to punch.
  • To get your scallop circle in the exact right spot, it's best if you attach your DSP and fold the card with both flaps closed, then put adhesive on the half circle part where the DSP is, and add your scallop circle.
  • Curl up the edges of your two small bloom flowers and attach to each other with a glue dot.  Attach to the card with a dimensional in the spot that will just keep the top flap closed so it doesn't pop open.
  • I used Stampin' Blends to color all of my images.  Supplies listed at the end of this post.

Thank you for visiting my blog.  I hope you enjoy making this sweet ladybug card.  You can scroll to the end of this post to see a list of supplies used and add items to your cart.  If you place an order, please use the March Host Code: WHJZQYQ3. If your order is over $150, do not use the code as you will earn the host rewards for yourself!  As a reminder, you can choose a free sale-a-bration item with every $50 purchased (before shipping and tax); you will also get a free package of envelopes as a gift from me for ordering in March, AND you'll enter the drawing for the free Ladybug set.

Happy Stamping!

Marsha


Product List

Thursday, February 21, 2019

Crafting Forever


I just love the sentiment "We are cut out to be friends" in the Crafting Forever stamp set.  It's how I feel about all of my stamping friends!  And then there is the saying, "Crafting forever! Housework whenever."  That seems to be my life motto! LOL!


This stamp set came out in the 2017-2018 catalog, but I didn't purchase it until a few weeks ago.  I really love it!

Measurements for the card above:

Very Vanilla cardstock: 
--5 1/2" x 8 1/2", score at 4 1/4"; 
--4" x 5 1/4" (to emboss with basket weave folder)
--4" x 4" to die-cut large heart
--2 1/4" x 1" to stamp the ribbon spool

Pool Party cardstock:
--4" x 4" to die-cut large heart

Other supplies:
Momento Black ink pad, Stampin' Blends--Pool Party, Smoky Slate, Crumb Cake; Pool Party Shimmer Ribbon, Silver and Pool Party Baker's Twine; Be Mine Stitched framelits; Basket Weave Textured Embossing Folder

How I put it together:
1. Use the Basket Weave textured embossing folder to emboss the 4 x 5 1/4" piece of cardstock

2. Die cut the large scallop heart with the stitched heart inside of it in both Pool Party and Very Vanilla.  Use the outside Pool Party frame and the inside Vanilla heart for this card (save the other pieces for another project).

3. Stamp the greeting and scissors on the vanilla heart and color in with Pool Party and Smoky Slate blends.  I used both shades.

4.  Attach the basket weave piece to the card base.  Wrap Pool Party ribbon around from the inside of the card to the front and tape it down (the heart will cover the tape).

5.  Attach the Pool Party heart frame to the card with glue. Attach the vanilla heart with dimensionals.

6.  Stamp the spool image and color with Crumb Cake blends.  Fussy cut the image and wrap Silver & Pool Party twine around it (I put a strip of tear tape on the back before I started wrapping to hold it in place both before and after I wrapped it).

7.  Attach the spool to the card with dimensionals and curl a little piece of twine the way you like it.  Secure in place by rolling up a glue dot and placing it under the twine to hold it where you need it.

That's it!  One more look at the final project:

These are a few other projects I made with my new Crafting Forever set.  I can't wait to create a 9" x 9" sampler with it!

The card above was cased from the current catalog.  The photo doesn't show the rhinestone on the scissors very well, but it adds some nice bling in person!

Cased from hmadeboutique.com
Cased from stampinstudio.com


Thank you for stopping by!
Please use the following host code for online orders during the month of February:  


2USMKSZU

If your order is over $50 (before shipping and tax), you will a spool of Textured Weave ribbon free from me (your choice of color).  Of course, it's also Sale-A-Bration time so you will get to choose free product from that promotion as well! E-mail me your choice of color after you place your order and I will send it to you at the beginning of March. 

Happy Stamping!

~Marsha~