Showing posts with label Rose Wonder. Show all posts

Monday, May 9, 2016

Mother's Day Photo Cards


For Mother's Day, I made photo cards to give my grandma, mother, and mother-in-law.  I got the accordion card idea from Cathy Williams at the Stamping Friends Regional Gathering.  She had a sample of a beautiful rose accordion card.  On her inside panels, she lined it with DSP.  I looked at it and thought it would be perfect for adding photos.  I made my mother-in-law an extra-large one (out of a 8 1/2 x 11 sheet of cardstock) and she really loved it.


Supplies used: Rose Wonder Bundle (thinlits and stamps), Glimmer paper (Red, Dazzling Diamonds, and Blushing Bride), Old Olive cardstock, Botanical Gardens vellum (from 2016 SAB), Real Red or Regal Rose ink pad (depending on the color of glimmer rose), Old Olive or Pear Pizazz ink pad, Envelope punch board, Red envelope paper, In Color Envelop paper

Measurements:
--Card base: 5 3/4" by 11".  Score at 4", 6 1/2", and 9 1/2".  (For the large card I used the same scoring guidelines, but just used an entire piece of cardstock).
--Vellum panel: 1 1/4" by 5 1/2"
--White cardstock for back panel: 4 x 5 1/2"
--Photo measurements: 2 3/4" square (x 2) for left panel, 2 1/4" by 2 3/4" (x 2) for right panel.
--Envelope: Follow the guidelines for a 4 1/2 by 6 card, start with an 8 1/2" square piece of paper.


Sunday, April 10, 2016

April Make & Take Projects

I enjoyed gathering with friends again yesterday at our Monthly Make & Take class.  These are the projects we made:


Project 1--Rose Wonder card

This card was CASEd from 
Sharon at As the Ink Dries and it uses the beautiful Rose Wonder stamp set from the Occasions catalog.  I love all the greetings in this stamp set.

To make the Rose Wonder card, we first wet embossed the rose with Whisper White embossing powder on Shimmery White cardstock.  Then we watercolored with Calypso Coral and Old Olive using Aqua Painters.  The greeting is stamped in Soft Suede.  At the end we used Wink of Stella to cover the whole rose adding extra shimmer (hard to see in the photo).

Project 2--Birthday card

Inside of Birthday card
This card design was created by Julie DiMatteo and I found it here.  It uses several goodies from the Occasions catalog: Number of Years Bundle, Balloon Bouquet Punch, It's My Party DSP, It's My Party Enamel Dots, Party Punch Pack (for the mini balloon inside), and the Baker's twine combo pack.  The white lines were added with the white gel pen.  The "Woo Hoo" came from the Party Pants SAB set.  The cardstock colors are Sahara Sand, Mint Macaron, Melon Mambo, and Daffodil Delight.

Blue Buterfly card

I found this card at Love for Stamping and thought it was so beautiful.  The butterfly has two layers.  The bottom layer is die cut from Island Indigo cardstock, the top layer is die cut from vellum cardstock (heads up, vellum cardstock is a bit difficult to die-cut). Gorgeous Grunge is used to add speckles to the background and the tiny flower stamped in Pool Party ink comes from the Hello Sunshine Paper Pumpkin stamp set. The words are from the Crazy about You stamp set.  The rhinestones add some final sparkle to the project.  The card base is Going Gray.
Recycled Pencil can

Lorinda planned this fabulous pencil holder project in honor of Earth Day as it is made out of many recycled products.  The brown layer covering the can is cut from a recycled brown paper grocery bag.  The striped paper is from the Typeset DSP.  What a resourceful project!
Recyclable Thank You card

This last card was also designed by Lorinda and I wish I would have taken a photo of the inside as it was also designed to be "recyclable."  She had a small envelope on the inside that you could put a note in and then re-use the card over and over.  Very cute idea!

Thanks to all who came to our class.  Looking forward to seeing you at the next one!

Sunday, April 3, 2016

Stamping Friends Regional Gathering

Lorinda, Cindy, Marsha, Erin, and Holly
I had a really fun outing with friends yesterday at Rose Ellen's Stamping Friends Regional Gathering.  We watched some informative and inspiring presentations, swapped cards (well, only Cindy made card swaps so the rest of us just enjoyed looking at hers), ate lunch, did make & takes, and overall had an enjoyable time getting ideas and stamping together.

My team leader, Michelle Suit, gave a presentation on Project Life and I felt inspired to give it a try, even though I gave up on scrapbooking years ago. This seems really doable and something I can just do here and there without feeling the pressure to scrapbook my whole life.  I try to keep a record of our family on my family blog that I print out, so I'm just planning to do some "highlight" project life books here and there.

Michelle Suit--awesome team leader!
One of the presenters, Cathy Williams, showed us how we can make our cards unique with fancy folds.  The card shown below was one of my favorites.  When you first open the card, you see the curtains covering the bear, as you pull it open, the curtains slide to the side and you see the bear peeking through.  So cute!

These are some of the make & takes we did.  I didn't end up finishing all of them:
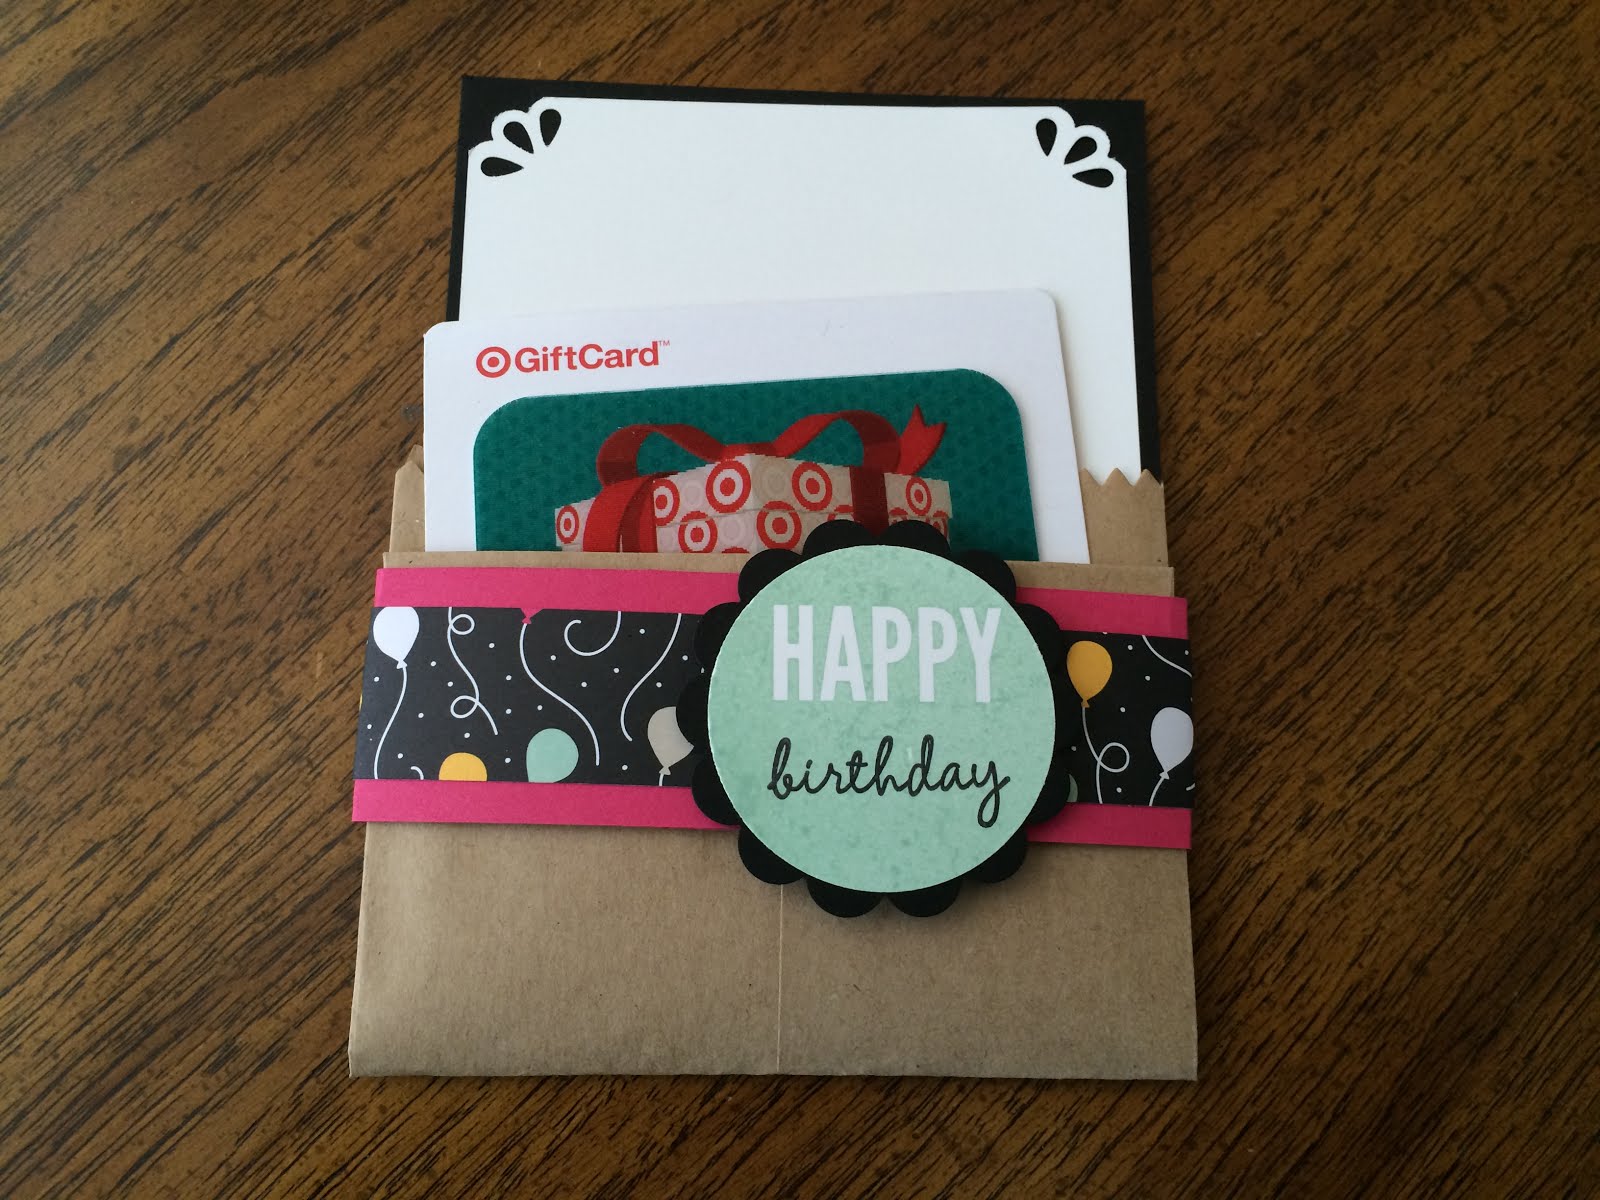
This next project was one of my favorites, maybe because it was so simple and something I could easily reproduce and mass produce for a variety of occasions.  It uses a craft bag, folded to make a pocket for a gift card.  You slip a small card in the opening of the bag, and the gift card in the pouch in front.  Simple and cute!

Here's a few more pictures from the event.  Looking forward to the next stamping day!