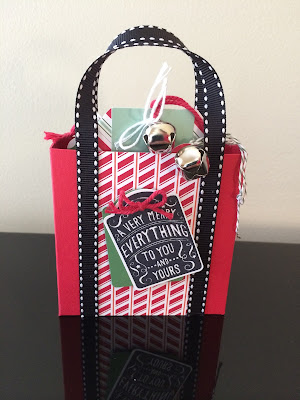
One of my friends sent me this darling idea from Dawn over at Dawn's Stamping Thoughts. You can watch her tutorial here. I couldn't wait to make it myself! I added the tag and ribbon at the top. I love this as an inexpensive way to let someone know you care about them when they are feeling under the weather. This was one of the projects at my stamping class last night and everyone loved how they turned out. If only I would have thought to take pictures! The three stamp sets we used to make this--Apple of My Eye, Fabulous Four, and Merry Everything--are retiring soon, so grab them quick!
Here are measurements and instructions, if you have any questions, let me know:
Cut and score the following pieces from Crushed Curry Cardstock:
- 4 ¼” by 10 ¼” inch (this is the card base and wraps around the tissue pack), turn horizontally and score at 1/2”, 1 3/8”, 3 ¾”, 4 5/8”
- 3 x 4 ½” (this goes across the front to make a shelf for the cough drops), turn horizontally and score at ½” , 1 ¼”
- 2 x 4 ½” (this piece goes on back to hold the soup packet), turn horizontally and score both ends at 1/2”
Cut the following pieces from the Crushed Curry striped paper in the It’s My Party Paper Stack:
- 4 x 5 3/8” (cut TWO of these to cover the front and back)
- 2 7/8” x 3 1/8” (this covers the front extra piece)
- 1 7/8” x 3 3/8” (this covers the back)
Other notes:
- The white piece with the greeting is 1 ¼” tall. Adjust the width after stamping the greeting.
- The greeting is from the Fabulous Four stamp set.
- Stamp three lemons from the Apple of My Eye set in Crushed Curry ink on white cardstock. Use the 2-way glue pen and dazzling diamonds glitter to add sparkle.
- Punch the lemons out with the 1 ¾” circle punch. Cut each lemon in half and add to the pouch with dimensionals.
- Use a very strong adhesive such as sticky strip or tear tape to assemble your pouch.
- The tag is from the Merry Everything bundle.
Update on 5/24/2016:
I made the same kit using cherries instead. I also saw this done on Dawn's stamping blog. I love how it turned out!


