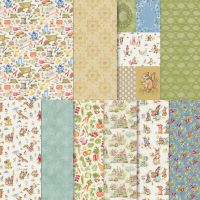
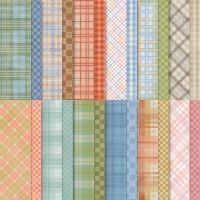
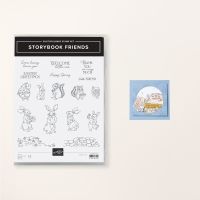
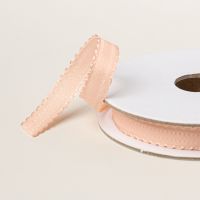
Today I am sharing with you the mini box for Hershey Nuggets once again. I have been making variations of this little box for years. It takes so few materials and is fairly easy to make. I made this Storybook Friends version for the guests at my recent craft retreat. I think they would be perfect to slip into an Easter basket, maybe with some folded up money inside for an added bonus!

You can see a video of me making this box below. I also show more features of the Storybook Friends suite collection, including what can be die-cut from the DSP and what can be fussy-cut. The measurements for the box are below.
Measurements in inches:
- Start with a 6 x 6 piece of DSP (I used Timeless Plaid)
- Cut 2" off one side, then take this piece and trim it into four strips measuring 1 x 3 (these will wrap around the Hershey nuggets)
- Take the remaining 4 x 6 piece and score 5/8" in from all four sides
- With 6" side at the top, score at 2-5/8 and 3-1/4
- Fold along all your score lines and look for the side of the box that is slightly bigger than the other side. Punch a 1/2" circle on the front flap of this side to remember it is bigger and make it your box lid (shown in video)
- To see how to put the box together, I recommend watching the video. You can skip to the 8:15 minute mark for that part.
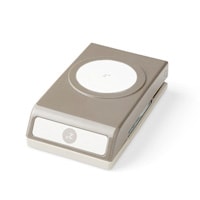
- I used a 2" circle punch to punch out images from the Storybook Friends DSP.
- The little strip I stamped the greeting on is 3/8" tall, trimmed down to fit the word length

I made 40 of these boxes for my retreat guests. This isn't the greatest photo, but if you want to see all 40 of them, here you go! It was fun to match up the different pictures with the different plaid colors.

We also made the following fun fold card at my retreat with the Storybook Friends products. Isn't it precious? It was cased from Kim McGillis. You can find her tutorial video and other great project ideas HERE.


Following is another fun fold card we made at a recent team Shoebox Swap. My team member, Amy O'Leary, planned this fun project for our group. She found the tutorial from Susan Campfield, who is the queen of fun fold cards. You can see her samples and tutorial video for the "Side Tower Pop Up" card HERE.
 |
| Front side |
 |
| Back side |
 |
| It folds flat for mailing and fitting in an envelope. |

The following cards are some simpler cards we made at my Bingo class a couple of months ago. If you have this paper, but not the stamps, you could easily make this card with alternate greetings.

The colors on these cards are Old Olive for the top card and Brocade Blue for the bottom card. The veggie DSP measures at 2-1/2 x 4. I decided I wanted a white mat around the strawberry DSP which measures at 2-3/8 x 3-7/8. The white mat is 2-1/2 x 4. I used a mix of Basic Beige and Basic White for the circles and greeting pieces. The little critters come from the page of pre-cut images on one of the pieces of DSP.
We will be making the following Storybook Friends cards in my online card club this month. I cased many of the ideas from Pinterest. I have two extra physical kits for this class. If you would like one, please email me at stampwithmarsha@gmail.com.

I hope this gives you a taste for the many wonderful projects you can make with this collection. I have even more projects pinned that I hope to make soon! If you would like to place an order this month, you can find my host code and free gift offering HERE.
Happy Stamping!
Marsha
 |  | ||
 |  |