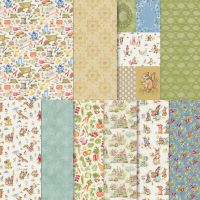
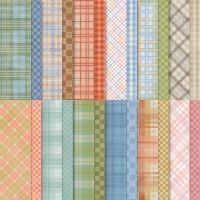
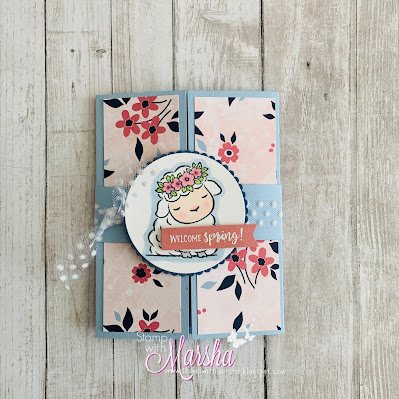
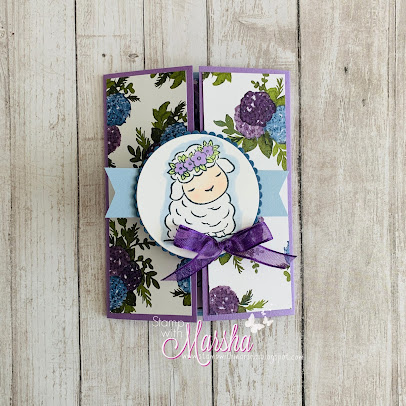
Aren't these easel cards made with the Sweet Jar Bundle so fun?! I saw a picture of a birthday and Valentine version made by Karin Braxton that inspired me to give them a try! The Sweet Jar Bundle is currently on the last chance list, so grab it before it's gone! I made the following Easter card version on a recent Facebook Live.


You can watch the replay of that video on YouTube linked below:
These are the measurements in inches for this card:
- Coastal Cabana card base: 5-1/2 x 8-1/2, on 8-1/2" side, score at 4-1/4
- On the front panel of the card, cut in 1-3/8" from each side from the bottom of the card to the middle score line (best understood by watching the video).
- Turn the card and score only the middle section of that front panel at 2-1/8 (best understood by watching the video).
- Flirty Flamingo: 3-1/4 x 4-1/2, die-cut a large arch (4th die in) with the Everyday Arches Dies
- Basic White: 3 x 4, die-cut an arch (5th die in) with the Everyday Arches Dies
- Easter Joy DSP (Designer Paper): 1-1/8 x 4 (cut 2)
- Basic White (inside panel): 2-5/8 x 4
- The "Happy Easter" sentiment came from a past Paper Pumpkin kit--Sweet Springtime, Feb. 2024
- To make the "jelly beans," stamp the image in Smoky Slate ink, but stamp off first so it's very light. Then color over the top with Stampin' Blends.
You can see photo icons of supplies used to make this card at the end of this post. Click on them if you would like to purchase.
*****
The following Valentine version was made using the new Made with Love Designer Series Paper, with Real Red cardstock and ink, plus Flirty Flamingo ink. The little hearts are from the Loose Valentine's Assortment. The sentiment on the front came from a past Paper Pumpkin kit as well--Lovely Lavender, Jan. 2024.


The following St. Patrick's Day version was made using the Florals in Bloom Designer Series Paper, with Granny Apple Green and Garden Green cardstock and ink. I used the Traditional Sparkling Sequins to decorate the card (also on the Last Chance List). The sentiment on the front came from the Confetti Birthday Kit (retired now from the Kit Collection).


This Easter version uses the same products as the first card, but the DSP is a different pattern.


These easel cards were fun to make! I love how colorful they are. Give them a try and let me know how it goes! You can see a supply list for the Easter card at the bottom of this post.
Come cruise with me!
I can't end without inviting you to come cruise and craft with me either to the Bahamas (Nov. 15, 2026) or to Alaska (August 6, 2027). Read all about my crafting cruises HERE. You get to craft on sea days (24 projects provided by us), and explore and go sight-seeing on port days. It's the best! Hope to see you on the ship!
Happy Stamping!
Marsha
![Sweet Jar Bundle (English) [ 165507 ]](https://assets1.tamsnetwork.com/images/EC042017NF/165507s.jpg "Sweet Jar Bundle (English) [ 165507 ]") | ![Everyday Arches Dies [ 164629 ]](https://assets1.tamsnetwork.com/images/EC042017NF/164629s.jpg "Everyday Arches Dies [ 164629 ]") | ![Nested Essentials Dies [ 161597 ]](https://assets1.tamsnetwork.com/images/EC042017NF/161597s.jpg "Nested Essentials Dies [ 161597 ]") | |
![Basic White 8 1/2" X 11" Cardstock [ 166780 ]](https://assets1.tamsnetwork.com/images/EC042017NF/166780s.jpg "Basic White 8 1/2\" X 11\" Cardstock [ 166780 ]") | ![Tuxedo Black Memento Ink Pad [ 132708 ]](https://assets1.tamsnetwork.com/images/EC042017NF/132708s.jpg "Tuxedo Black Memento Ink Pad [ 132708 ]") | ||
![Easter Joy 12" X 12" (30.5 X 30.5 Cm) Specialty Designer Series Paper [ 166939 ]](https://assets1.tamsnetwork.com/images/EC042017NF/166939s.jpg "Easter Joy 12\" X 12\" (30.5 X 30.5 Cm) Specialty Designer Series Paper [ 166939 ]")
![Coastal Cabana 8-1/2" X 11" Cardstock [ 131297 ]](https://assets1.tamsnetwork.com/images/EC042017NF/131297s.jpg "Coastal Cabana 8-1/2\" X 11\" Cardstock [ 131297 ]")
![Flirty Flamingo 8-1/2" X 11" Cardstock [ 141416 ]](https://assets1.tamsnetwork.com/images/EC042017NF/141416s.jpg "Flirty Flamingo 8-1/2\" X 11\" Cardstock [ 141416 ]")
![Smoky Slate Classic Stampin' Pad [ 147113 ]](https://assets1.tamsnetwork.com/images/EC042017NF/147113s.jpg "Smoky Slate Classic Stampin' Pad [ 147113 ]")
![Coastal Cabana Classic Stampin' Pad [ 147097 ]](https://assets1.tamsnetwork.com/images/EC042017NF/147097s.jpg "Coastal Cabana Classic Stampin' Pad [ 147097 ]")
![Flirty Flamingo Classic Stampin' Pad [ 147052 ]](https://assets1.tamsnetwork.com/images/EC042017NF/147052s.jpg "Flirty Flamingo Classic Stampin' Pad [ 147052 ]")
![Balmy Blue 1/4" (6.4 Mm) Gingham Ribbon [ 166952 ]](https://assets1.tamsnetwork.com/images/EC042017NF/166952s.jpg "Balmy Blue 1/4\" (6.4 Mm) Gingham Ribbon [ 166952 ]")
![2024 2026 In Color™ Flat Pearls [ 165266 ]](https://assets1.tamsnetwork.com/images/EC042017NF/165266s.jpg "2024 2026 In Color™ Flat Pearls [ 165266 ]")
![Balmy Blue Stampin' Blends Combo Pack [ 154830 ]](https://assets1.tamsnetwork.com/images/EC042017NF/154830s.jpg "Balmy Blue Stampin' Blends Combo Pack [ 154830 ]")
![Flirty Flamingo Stampin' Blends Combo Pack [ 154884 ]](https://assets1.tamsnetwork.com/images/EC042017NF/154884s.jpg "Flirty Flamingo Stampin' Blends Combo Pack [ 154884 ]")
![Fresh Freesia Stampin' Blends Combo Pack [ 155518 ]](https://assets1.tamsnetwork.com/images/EC042017NF/155518s.jpg "Fresh Freesia Stampin' Blends Combo Pack [ 155518 ]")
![Summer Splash Stampin’ Blends Combo Pack [ 163826 ]](https://assets1.tamsnetwork.com/images/EC042017NF/163826s.jpg "Summer Splash Stampin’ Blends Combo Pack [ 163826 ]")
![Lemon Lolly Stampin’ Blends Combo Pack [ 161673 ]](https://assets1.tamsnetwork.com/images/EC042017NF/161673s.jpg "Lemon Lolly Stampin’ Blends Combo Pack [ 161673 ]")