Thursday, September 15, 2016

Stamping with Friends

My, oh my, it's been awhile since I have posted.  I haven't stopped stamping, I just haven't managed to post about it! :)

First, run check out Stampin' Up's Clearance Rack. They've added dozens of new goodies this week.  I just filled up my cart with ribbons and buttons because the prices are unbeatable! The Oval Layering Framelits are also on special right now until September 21st, so I had to get those too.

Now on to my latest stamping adventures...

I went to Utah for a family reunion in August.  It was so great to reconnect with everyone.  I was even able to slip in a little stamping time with my mom. Thank you, Paper Pumpkin, for making it so easy to stamp while traveling!


I attended another Stamping Friends Regional Gathering at the end of August and completely failed at taking photos!  I will get some up soon, but for now, this is one of the projects we made with Jar of Cheer.  I came home and added the lid, bells, and ribbon to the top of the jar.


This was my card swap made with the new Christmas Magic stamp set:


Last Saturday was my monthly Make & Take Class and we made these three projects:


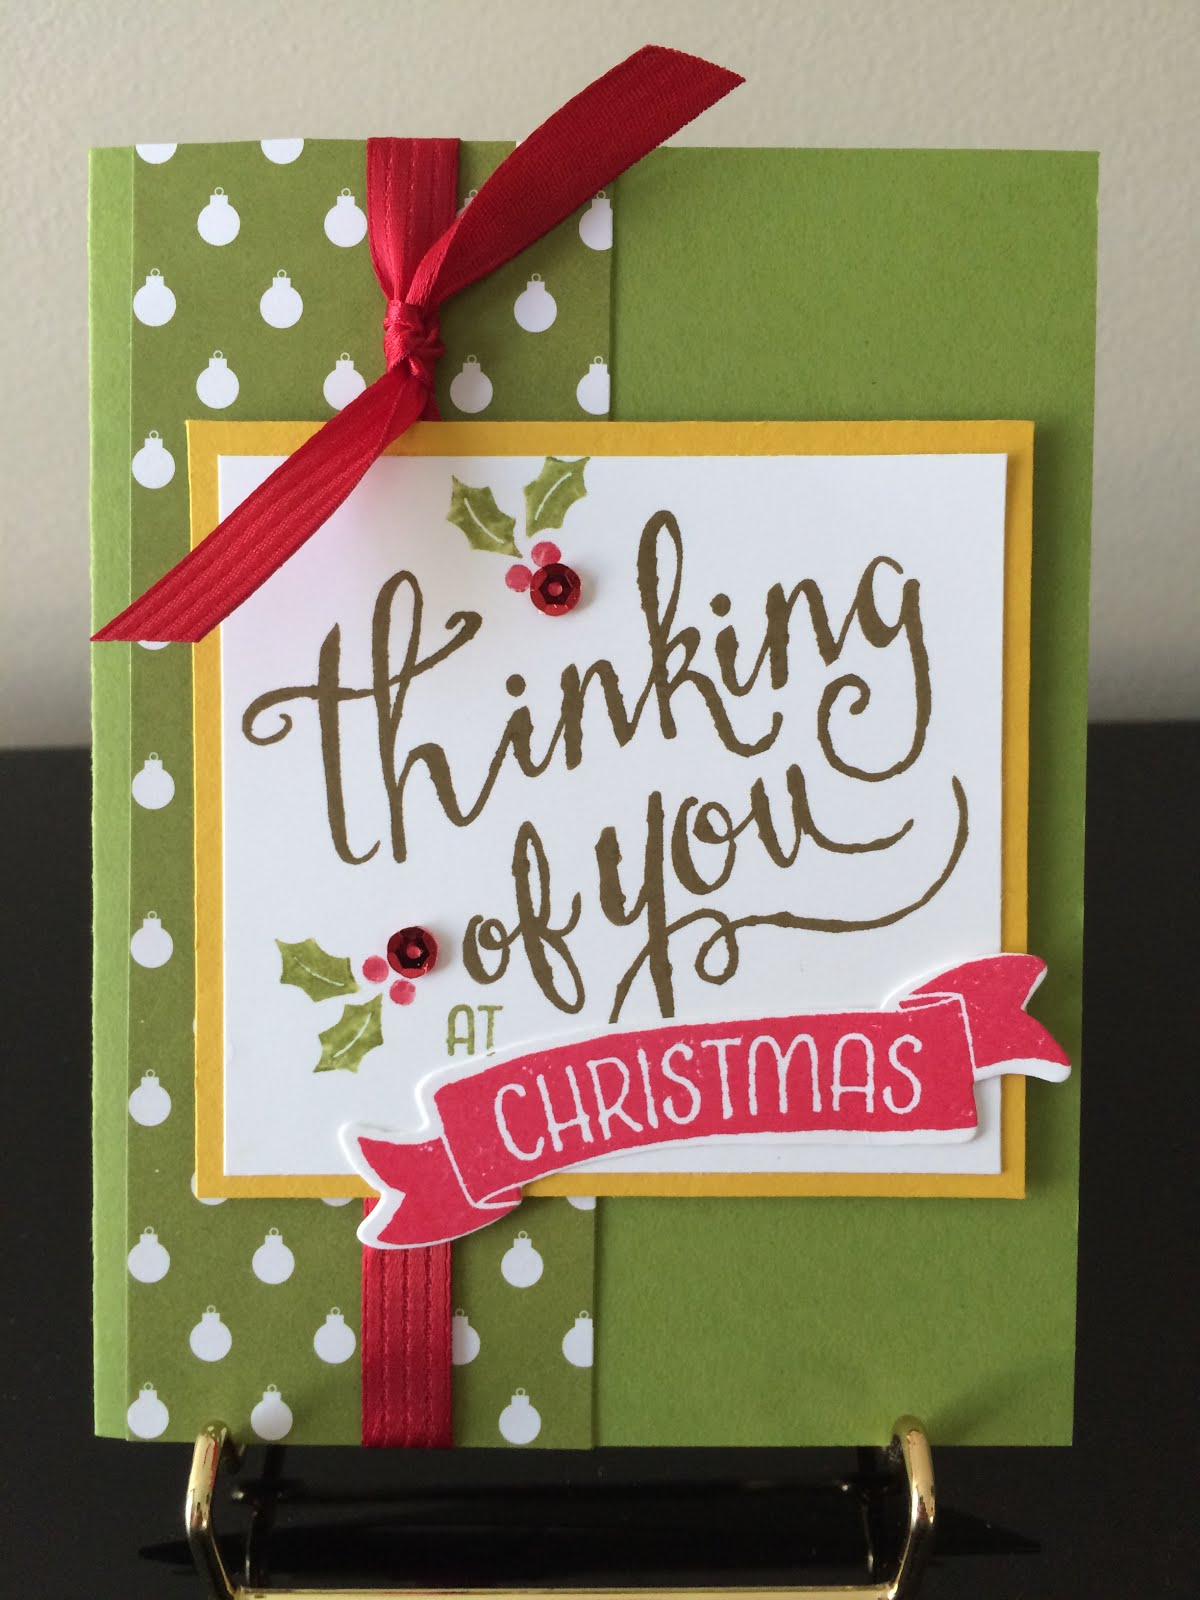
My guests could choose from three variations for the Thinking of You card made with the hostess Time of Year set. Here are some close-ups.



These cards were made with My Hero and Jar of Love.


I love stamping with these awesome ladies!


Friday, July 29, 2016

Holiday Head Start Demo Training Day

Last Saturday I attended a "Holiday Headstart Demo Training Day" put on by Michelle Suit and Leena Girsa.  It was really relaxing to make Christmas projects and listen to Christmas music in July; I loved it!  Did I mention it was 100 degrees outside?!

These are some of the goodies we made.  Snow Place stamp set and Snow Friends framelits are featured several times.  Those items have definitely been added to my wishlist! 


When I got home, I showed the projects we made to my family and this "shutter" card was a big hit!  Even the boys were impressed!
In case the video doesn't work, I tried to capture the shutter effect in these photos.  As you open the card, the shutters open revealing the penguin's face.  So fun!
I also took pictures of cards that were on display that I want to recreate.  The first card with the snowman in the jar was my absolute favorite!

We were able to bring one "guest" (not a demonstrator) with us and I was happy to go with my friend, Cindy.  Sadly, she was moving the next day, but at least we had our last big stamping day together before she left!


Thursday, July 21, 2016

Disney Project Life Class

I recently had the opportunity to attend a Disney Project Life class put on by my wonderful friend and Stampin' Up leader, Michelle Suit.

First, we embossed the front of our 6 x 8 album.  Did you know you could do that?!  So cute!

Michelle is famous for her punch art, and this class included plenty of cute Disney characters and other Disney themes made with punch art. Here are a few close-ups.


Along with Michelle's special creations, we used the Moments Like These Project Life card collection and accessory kit to fill in our pocket pages.

When I got home, I got out all of my Disney pictures from FIVE YEARS AGO (!!) and went to work filling my pages.  My photos didn't always work with the layouts we did at the class, but that's the awesome thing about the pocket pages--you can move things around!  I basically took out all the elements we made, then organized my photos by event/theme park, decided where I wanted my photos to go, and then added back in the elements/cards from the class.  I wasn't able to use every element we made at the class, because I didn't have photos to match all of the themes, but I love how it turned out!

I recently taught a Project Life class and I reminded my group that you don't have to have something super cute on every page. Getting photos into a book is the main goal.  My Disney book has lots of pages that only have photos, such as this:

However, it's definitely fun to have a few pages with fun elements and title cards, such as these:


A great tip to remember, especially when working with a 6 x 8 album, is that you can add vertical 4x6 photos to your pages using clear envelopes.  If you want to see a tutorial on how to do this, let me know and I will find one of the ones I watched.  (Ha, ha, I haven't made my own).  This is an example of a clear envelope with the Pooh picture on the front side, then it flips up to show the Eeyore picture on the backside:

Another tip: You don't have to let the size of the pockets limit the size of photos you use.  You can cut a 4x6 photo in half and slip it into two 3x4 slots (just make sure you aren't slicing in the middle of a face).  See the photo on the bottom right in the first picture and bottom left in the second picture (both are cut in half):


Along the same lines, I needed to fill in four small pockets on the backside of one layout, and I didn't really have four pictures that would work.  So, instead of using a 4x6 photo, I printed out an 8x8 photo, trimmed the sides, then cut it into fourths to fill the four small pockets.  See the Japan (at Epcot) layout below--it's one big photo cut into fourths.  You can see how I added extra horizontal pictures with clear envelopes on the other side.


I'm so excited about my Disney scrapbook.  Thank you, Michelle, for making it happen!


P.S.  I shared a couple of pointers from my Project Life class in this post.  If you would like a PDF with more tips, tricks, and easy steps for getting started on Project Life, send me an e-mail at stampwithmarsha@gmail.com.